
Easy Step By Step Guide to Write a WordPress Blog
Are you looking for an easy step by step guide to write your first wordpress blog ? well you are at right place this guide will help you to create your first wordpress blog that is beautiful and functional.
Things you need to start your first WordPress blog :
1: Domain & Hosting
- Domain name – Initially before starting any blog we need to have a proper name for your Website ( Ex : mywebexperience.com)
- Hosting – The next step to create a wordpress blog is to have a consistent and secure Host for your domain name and a web Hosting Account to make your website live on Internet
What is Domain Name ?
Domain Name is The name of Your Website Or the name which internet user types an address to access your Website.
Before Getting any domain name we need to make sure it hasn’t been registered before by any user. Although we can have slight spelling changes in order to get the desired domain name even if it is registered before.
name.com, godaddy.com etc are some websites which provide vast range of domain names from where you can register and buy according to your preference.
Hosting
Hosting is a service which allows an individual or group of individuals to post a website/webpage on the internet. It is a type of business which provides the necessary and required services for the website which is to be viewed on the internet.
Bluehost is widely accepted and preferred for Hosting, As it has hosted millions of websites till now
You can also buy a domain name and hosting as a combo from Bluehost.
Steps in Purchasing Domain name and Hosting From Bluehost
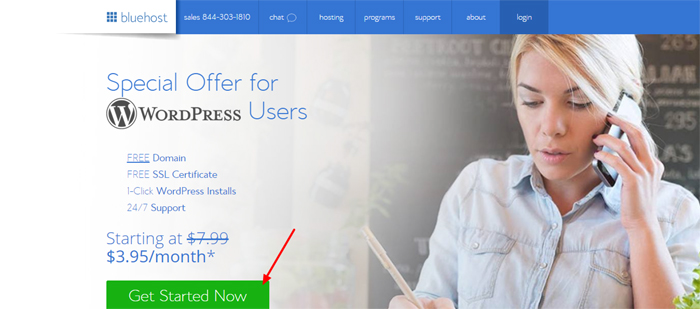
Visit bluehost.com and you will find a similar home page for your access.
Click on Get Started Now Button ( As shown in the image below ).
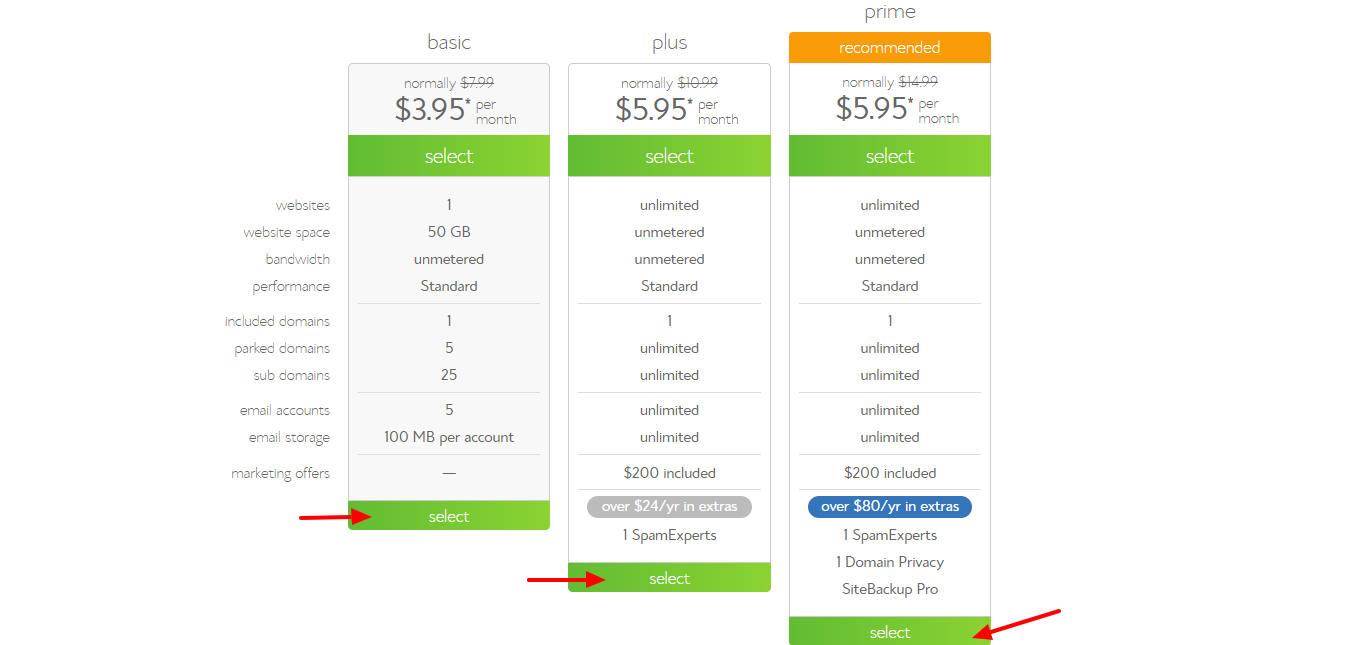
Select Your Plan According To your Preference (As shown Below)
Enter the Domain Name which you want to register in (new Domain) or if you have already registered any Domain name from any other Website, Type in whichever your domain name is in (I have a Domain Name) field.

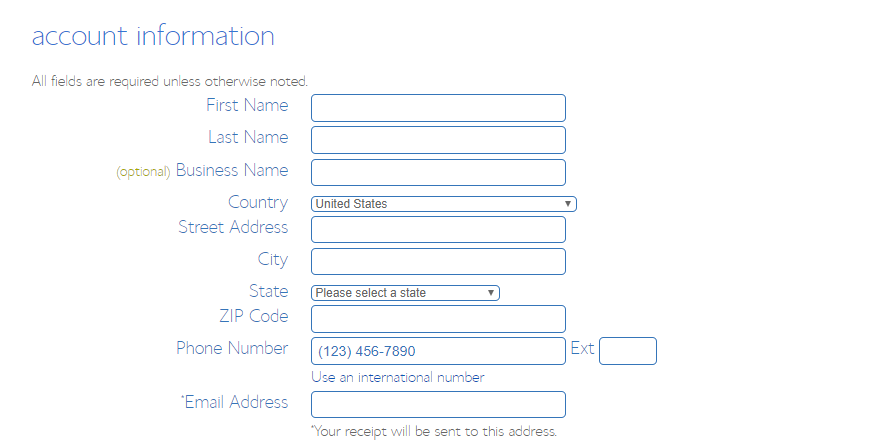
Enter Your Account Information to complete Process and also if you want to change your Package/Account Plan you can change it from Dropdown (As shown in Figure) but We recommend to go for 36 Months ($2.75/mo), and if You want extra services like site backup Pro (for Backup of website), Search Engine Jumpstart, etc., you can Purchase that by paying.
Lastly, Enter Your Credit Card Information and Submit Accordingly

Once you complete, you will receive an Email (Which you have provided In Account Information) with details of Cpanel (Control Panel) and steps to Login. This is the place where you will install WordPress, Make Emails/Manage Emails, Create Databases, Add DNS Records etc .
2: WordPress Installation
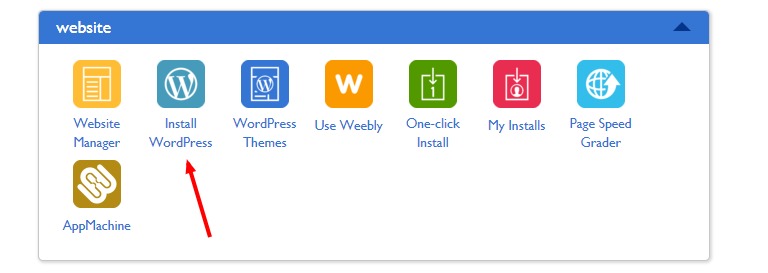
To Install WordPress, firstly, you need to login to your cpanel account by entering (yourdomain.com/cpanel) once you login in cpanel, you will see icons which are divided into different sections.
Follow the steps given below :
- Click on WordPress icon under the Section Website (As shown below)
In the Next Screen select your domain from the dropdown and click on next and leave Directory Field Empty otherwise WordPress will be installed in that directory ( Ex: yourdomain.com/directory ).

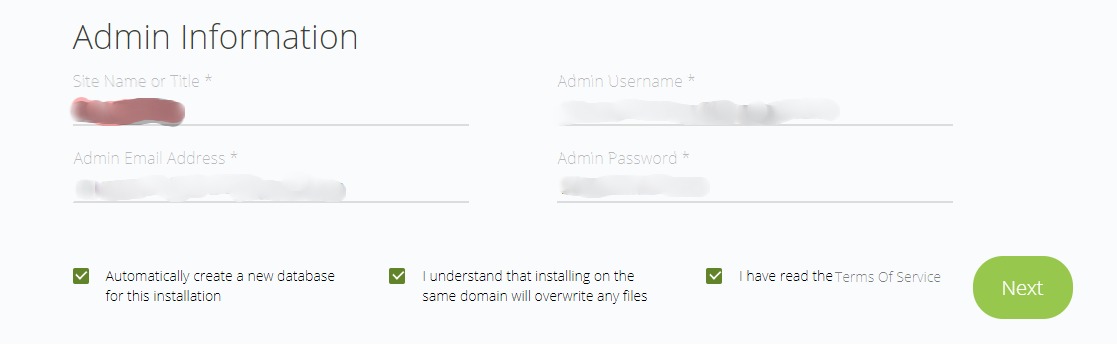
2. Now Enter Your Site Title, Admin Username and Admin Password and make sure to check all The Checkboxes and click Next.
Now your WordPress Starts to Install.
While installing it will direct you to free wordpress themes, which you can set accordingly later any time.
Also, you can check your installation progress in the header bar and once installation is complete, click on the link which it will display your admin username and password with WordPress login link.
You will get a similar view ( As shown in the image below )

Yourdomain.com/wp-admin in our case it will be (Ex: http://mywebexperience.com/wp-admin )
Click on that link and now you can login to WordPress.
3: Theme Installation
Themes play most important Part in WordPress to change the look and feel of your Website, basically, it is to manage content aesthetics. There are many ready-made themes available, in which some are paid and some are Free.
Theme installation is very simple and it is as follows :
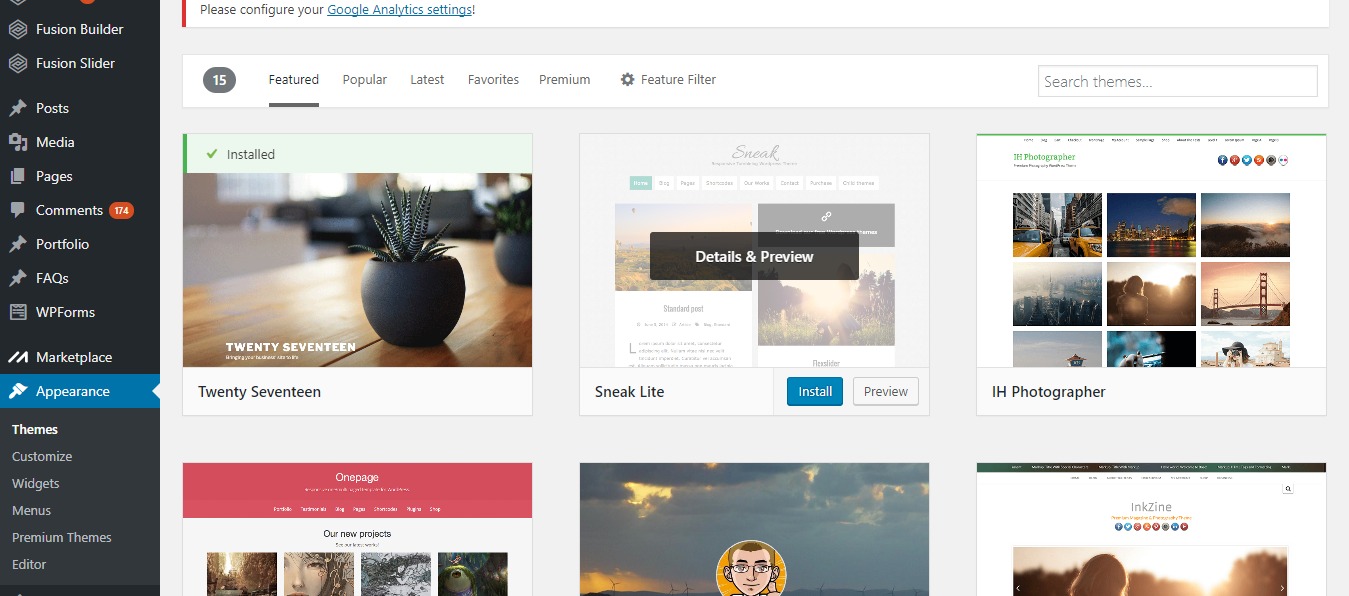
Go to Appearance > Themes

Now Click on wordpress.org for ( Free Themes ) or Upload to Upload any premium theme File

Now you can Search Your theme from thousands of WordPress themes, Further, it is divided into different Categories (Popular, Latest, Featured etc)

Once You Select your theme, hover the mouse cursor over your theme and click on install, once installation is complete click on Activate
Now our Next step and Final Step is to Add Blog
4: Adding Your First Blog
Writing/Creating Blog is Not a big Deal you can write your blog in minutes and it is very much simple in WordPress so now let’s see how we can Create a blog in WordPress in no time.
Our First step is Go to Posts and click on Add new
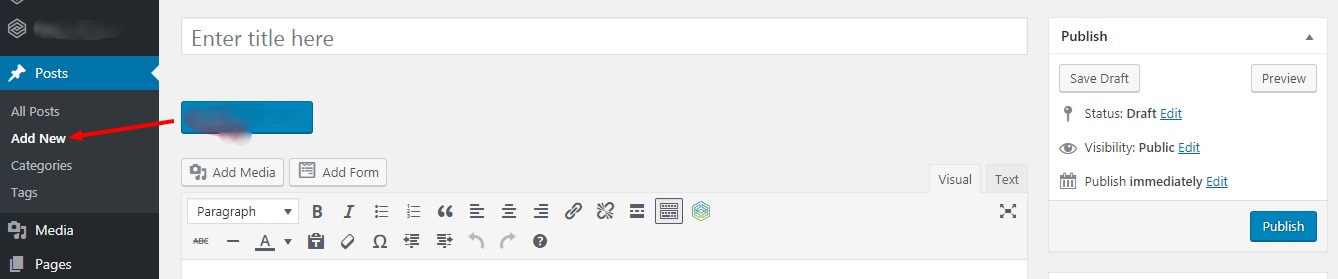
Now you can see a panel to add our new post,
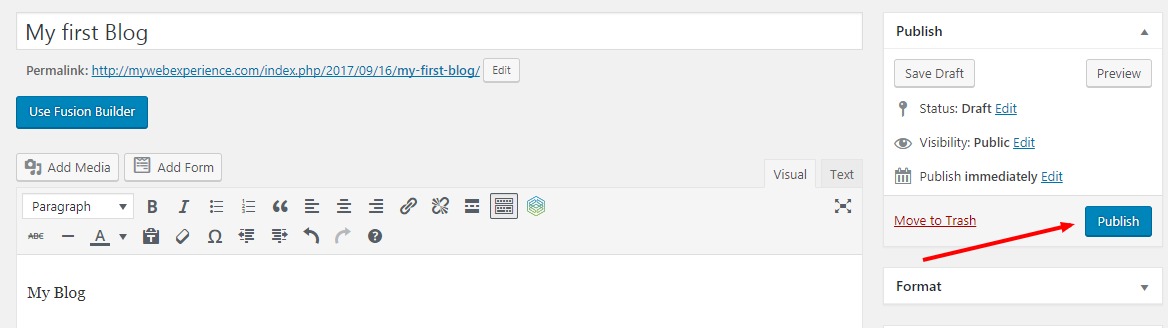
Enter Blog Title ( Enter in the title Field here) .
Add your content in Text Area . You can select Different font-sizes from paragraph dropdown, and you can also add media as images or videos , or you can change the text color from color picker or Select/Add new Category or set Featured Image or select Tags and so on
Know more About Tags & Categories
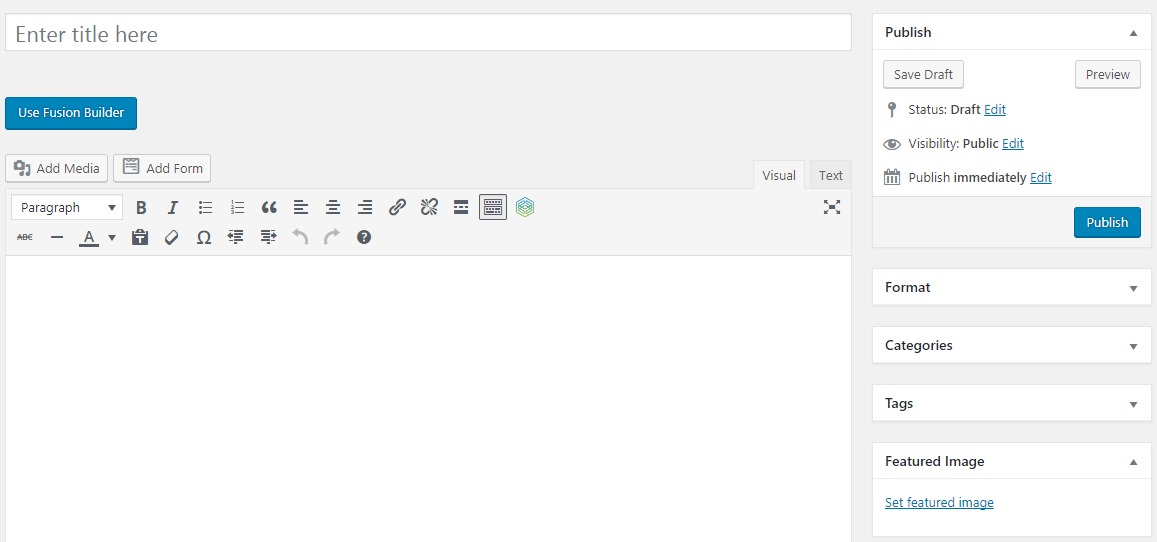
After adding content, click on Publish (As shown in the image Below) The content gets published. You can also set a publication date to schedule your post in the future or save the post as a draft for more editing.
Congratulations! You just published your first blog post.